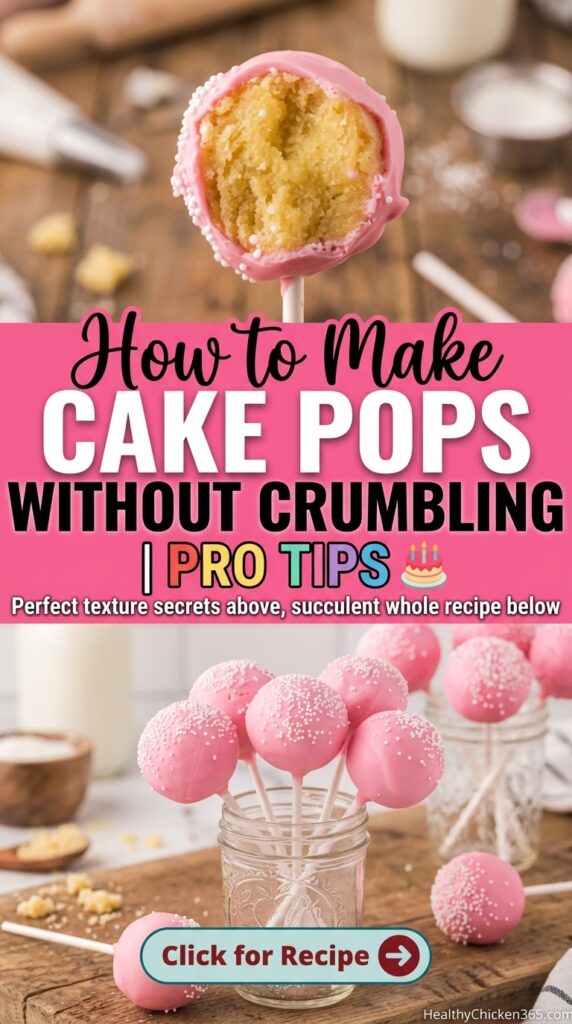
The Cake Pop Struggle Is Real
You’ve been there. You spend hours baking the perfect cake, mixing the ideal frosting ratio, carefully shaping each ball, and then… disaster strikes. The cake pops crumble, crack, fall off the stick, or the chocolate coating splits. Frustrating, right?
Cake pops seem simple—just cake and frosting rolled into balls and dipped in chocolate. But behind those Instagram-perfect treats lies a science that most home bakers never learn. The difference between a messy disaster and a bakery-quality cake pop comes down to technique, ratios, and temperature control.
In this comprehensive guide, I’m sharing 25 professional tips and techniques that will transform your cake pop game forever. Whether you’re a complete beginner or a seasoned baker looking to perfect your craft, this guide covers everything from the foundational recipe to advanced troubleshooting.
Let’s dive in and master how to make cake pops without crumbling.
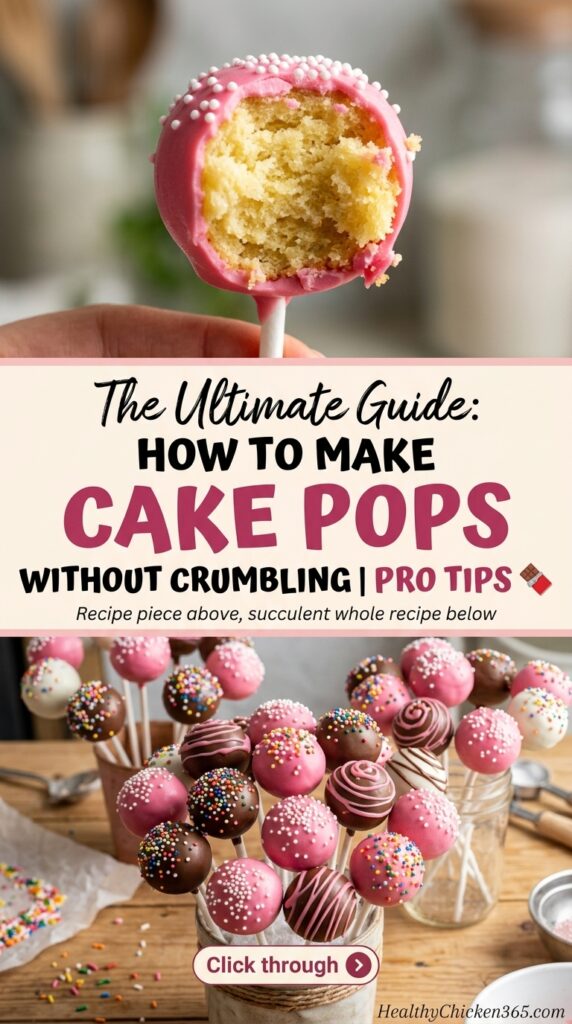
The Master Cake Pop Recipe: Your Foundation for Success
Before we explore the 25 pro tips, you need a solid foundation. This master recipe works for any flavor and incorporates the techniques that prevent crumbling.
Ingredients:
- 1 box cake mix (or homemade cake)
- 1 can (16 oz) frosting (or homemade buttercream)
- 2-3 cups candy melts or chocolate coating
- Cake pop sticks
- Lollipop molds or styrofoam block for drying
- Optional: sprinkles, edible glitter, decorations
Equipment Needed:
- Large mixing bowl
- Baking sheet
- Parchment paper
- Microwave-safe bowls
- Cake pop sticks
- Candy thermometer (optional but recommended)
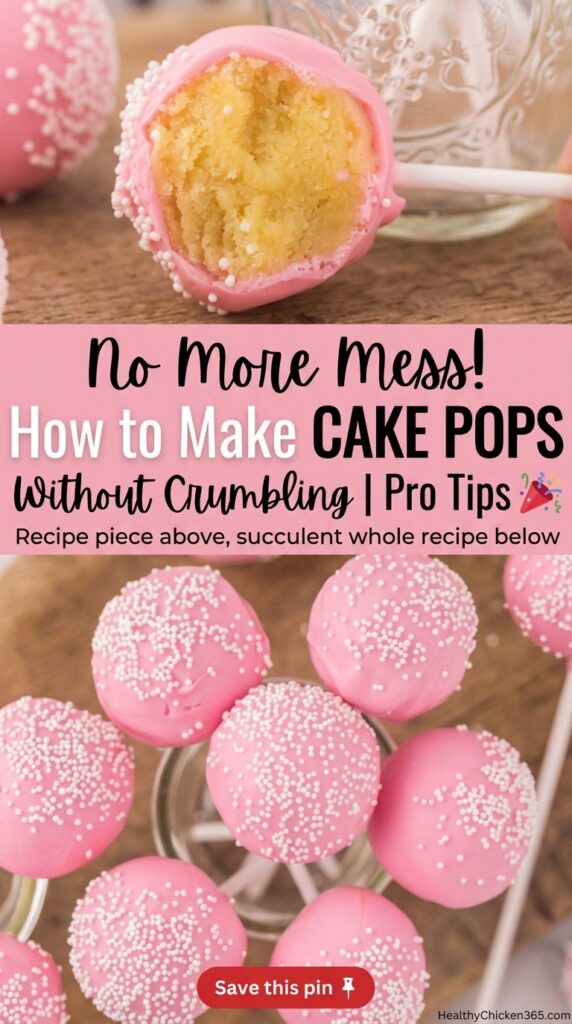
Step-by-Step Instructions: How to Make Cake Pops Without Crumbling
Step 1: Bake and Cool Your Cake Properly
Why this matters: Temperature is everything. Using warm cake is the #1 reason cake pops crumble.


- Bake your cake according to package directions or your favorite recipe
- Let the cake cool completely—at least 2 hours, preferably overnight
- The cake should be at room temperature or slightly cool to the touch
- If you’re in a hurry, crumble the cake and spread it on a baking sheet to cool faster
Pro Tip: Never skip this step. Warm cake creates steam when mixed with frosting, leading to a mushy texture that falls apart.
Step 2: Crumble the Cake to the Right Consistency
Why this matters: Uniform crumbs = uniform texture = sturdy cake pops.
- Break the cooled cake into large chunks
- Use your hands, a fork, or a food processor to create fine, even crumbs
- Aim for consistency: No large chunks, but not powdery either
- Think of the texture like coarse sand
Pro Tip: If using a food processor, pulse in short bursts. Over-processing creates cake dust that absorbs too much frosting.
Step 3: The Golden Ratio—Frosting to Cake
Why this matters: Too little frosting = dry, crumbly pops. Too much frosting = mushy, unstable pops.
- Start with 1/4 to 1/3 cup of frosting per cake mix box
- Add frosting gradually, mixing with your hands or a fork
- The test: Squeeze a small amount in your palm. It should hold together firmly without feeling wet or sticky
- If it crumbles, add 1 tablespoon more frosting
- If it feels mushy, you’ve added too much (add more cake crumbs to fix)
Pro Tip: The mixture should feel like play-dough—moldable but not sticky.
Step 4: Chill the Mixture (Don’t Skip This!)
Why this matters: Cold mixture = easier shaping = less crumbling.
- Cover the bowl with plastic wrap
- Refrigerate for at least 30 minutes (up to 2 hours)
- This firms up the frosting and makes the mixture easier to handle
- Cold mixture holds its shape better when rolling
Pro Tip: If you’re short on time, 15 minutes in the freezer works in a pinch.
Step 5: Roll Perfectly Sized Cake Balls
Why this matters: Consistent size = even chilling = uniform dipping.
- Scoop 1 to 1.5 tablespoons of mixture per cake pop
- Roll gently between your palms into smooth balls
- Don’t overwork the mixture—this can make it too warm and soft
- Place rolled balls on a parchment-lined baking sheet
- Aim for golf ball size (about 1 inch in diameter)
Pro Tip: If the mixture sticks to your hands, lightly coat your palms with shortening or cooking spray.
Step 6: The Critical Chill Before Dipping
Why this matters: This is where most people fail. Warm cake balls + hot chocolate = disaster.
- Place the baking sheet with cake balls in the freezer for 15-20 minutes
- Or refrigerate for at least 1 hour
- The cake balls should be firm and cold to the touch
- This prevents them from crumbling when you insert the stick
Pro Tip: You can freeze them overnight if making ahead. Just let them sit at room temperature for 5 minutes before dipping.
Step 7: Prepare Your Sticks (The Secret Adhesive Trick)
Why this matters: This prevents the cake pop from sliding off the stick.
- Melt a small amount of candy melts or chocolate
- Dip the tip of each stick into the melted chocolate (about 1/4 inch)
- Insert the stick into the cake ball about halfway through
- The chocolate acts as glue, securing the stick
- Return to the freezer for 5-10 minutes to set the “glue”
Pro Tip: Don’t push the stick all the way through. Leave enough room for the cake ball to stay secure.
Step 8: Melt Your Coating Correctly
Why this matters: Properly tempered chocolate = smooth, crack-free coating.
- Use candy melts or chocolate coating wafers (not regular chocolate chips)
- Melt in microwave-safe bowl in 30-second intervals, stirring between each
- Don’t overheat! Ideal temperature is 90-95°F for dark chocolate, 85-90°F for white/milk
- The coating should be smooth and fluid, not thick or clumpy
- If too thick, add a tiny amount of vegetable oil or paramount crystals
Pro Tip: Stir frequently to prevent hot spots that can burn the chocolate.
Step 9: The Dipping Technique
Why this matters: This is where the magic happens—and where most crumbling occurs.
- Remove cake pops from freezer (they should be very cold)
- Hold the stick and dip the cake ball completely into the melted coating
- Tap gently to remove excess chocolate
- Don’t stir or swirl the cake pop in the coating—this can cause crumbling
- Lift straight up and let excess drip off
Pro Tip: If the coating starts to thicken, rewarm it briefly in the microwave.
Step 10: Decorate and Set
Why this matters: Timing is crucial for decorations to stick.
- Add sprinkles immediately after dipping while chocolate is still wet
- Stand the cake pop upright in a styrofoam block or lollipop mold
- Let set at room temperature for 15-20 minutes
- Don’t refrigerate unless necessary (condensation can cause issues)
- Once set, they’re ready to serve or store
Pro Tip: Work quickly with decorations. Once the chocolate sets, sprinkles won’t stick.
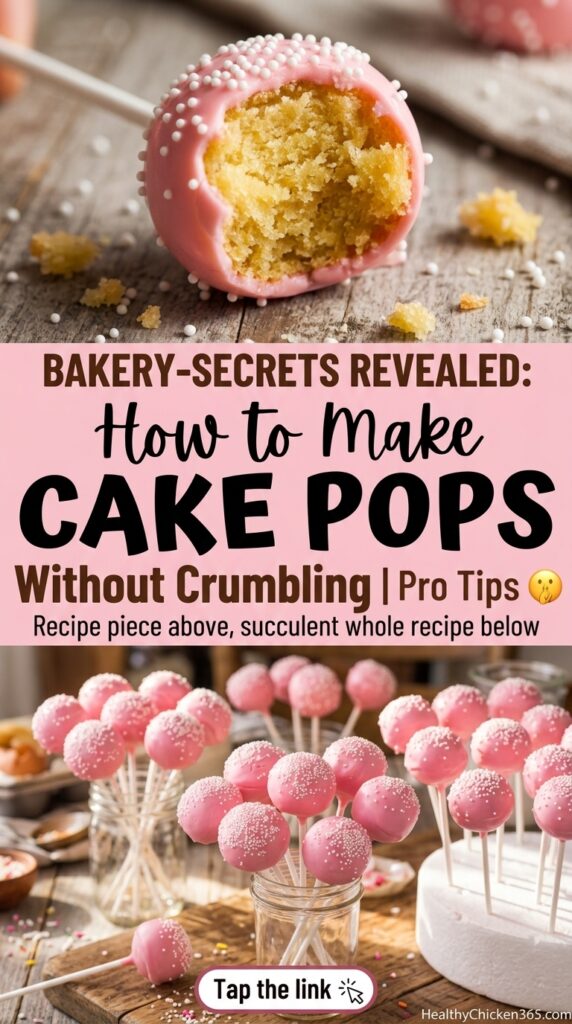
25 Pro Tips to Master Cake Pops Without Crumbling
Now that you have the foundation, here are the 25 expert techniques that separate amateurs from pros:
1. The Temperature Rule
Always work with cold cake balls and warm (not hot) chocolate. Temperature shock causes cracking.
2. Frosting Quality Matters
Use name-brand frosting or homemade buttercream. Cheap frosting has too much air and water.
3. The Double-Chill Method
Chill the mixture, then chill again after shaping. This two-step process ensures maximum stability.
4. Don’t Over-Mix
When combining cake and frosting, mix just until combined. Over-mixing creates a gummy texture.
5. Use the Right Chocolate
Candy melts or coating wafers are formulated for cake pops. Regular chocolate contains cocoa butter that can bloom or crack.
6. The Thumb Test
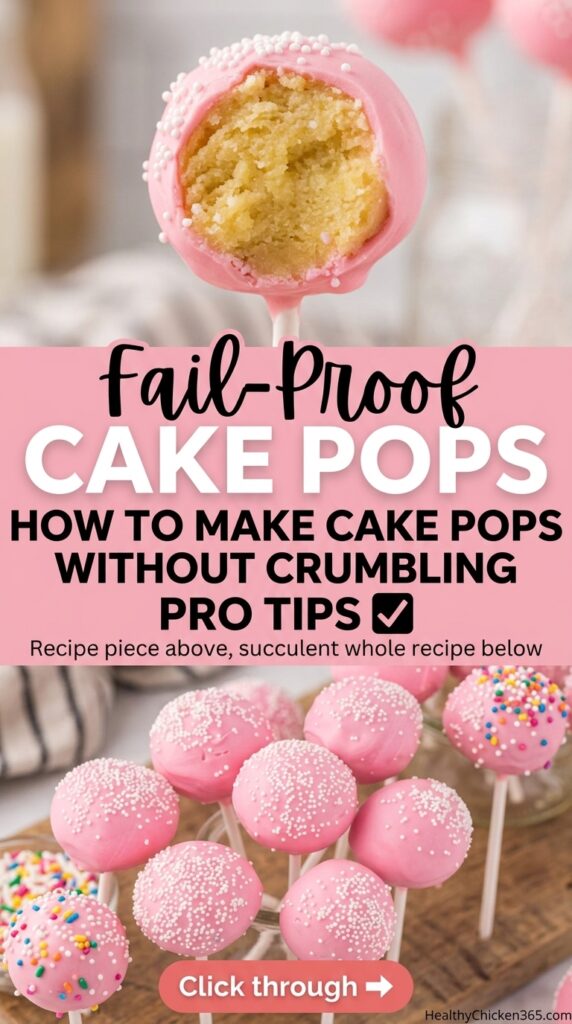
Press your thumb gently into a cake ball before dipping. It should spring back slightly. If it leaves an indent, it’s too soft.
7. Room Temperature Matters
Work in a cool kitchen (65-70°F). Hot, humid environments are cake pop enemies.
8. Batch Work
Make cake balls in small batches (10-12 at a time). This prevents the mixture from warming up.
9. The Freezer vs. Fridge Debate
Freezer for quick chilling (15-20 min), fridge for longer (1-2 hours). Both work, but don’t skip this step.
10. Stick Selection
Use paper or plastic cake pop sticks (4-6 inches). Wooden skewers are too thick and can split the cake ball.
11. The Dipping Depth
Dip the cake ball just below the stick insertion point. Don’t submerge the entire stick.
12. Tap, Don’t Shake
After dipping, tap the stick gently against the bowl’s edge. Shaking can cause the cake ball to fall off.
13. Work Quickly
Once dipped, decorate immediately. You have about 30 seconds before the chocolate sets.
14. Storage Secrets
Store finished cake pops in an airtight container at room temperature for up to 3 days, or refrigerate for 1 week.
15. Freezing for Later
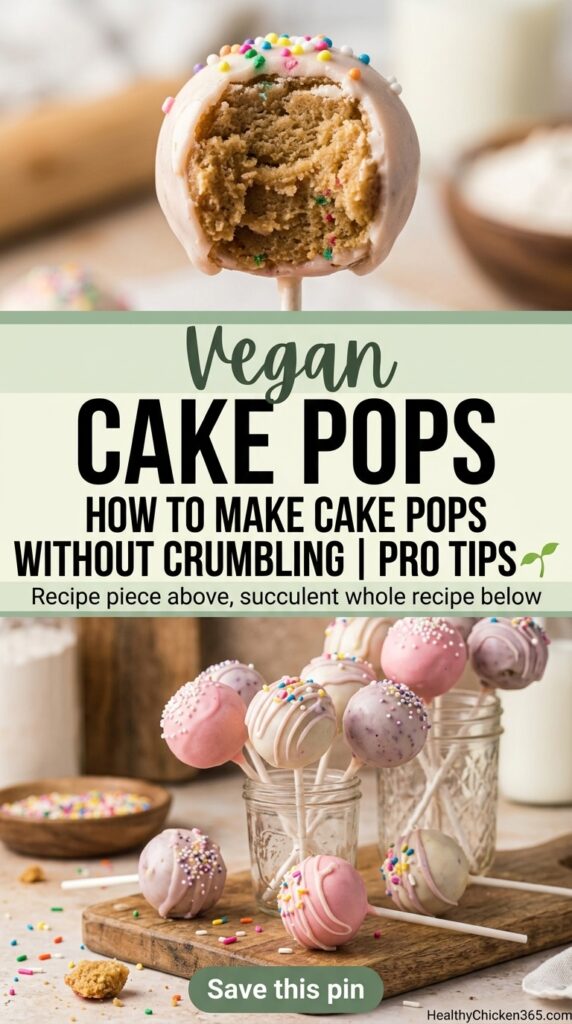
Freeze undipped cake balls for up to 3 months. Thaw in fridge overnight before dipping.
16. Flavor Variations
Add extracts, zest, or spices to the frosting, not the cake. This prevents texture issues.
17. The Crumb Coat
For extra stability, dip cake balls in thin chocolate first, let set, then dip again in decorative coating.
18. Humidity Control
Avoid making cake pops on rainy/humid days. Moisture in the air causes chocolate to seize or bloom.
19. The Rolling Technique
Roll cake balls with light, even pressure. Squeezing too hard makes them dense and prone to cracking.
20. Chocolate Temperature Check
Use a candy thermometer if you’re serious. Perfect temp = perfect coating every time.
21. The “Anchor” Method
Insert the stick, then dip just the base in chocolate to create an anchor before full dipping.
22. Batch Dipping Efficiency
Dip all cake balls first, then decorate all at once. This keeps your workflow efficient.
23. Troubleshooting Cracks
If chocolate cracks, your cake balls were too cold or your chocolate was too hot. Adjust temperatures.
24. The “Blob” Prevention
If chocolate pools at the base, you have too much coating. Tap more aggressively to remove excess.
25. Practice Makes Perfect
Your first batch might not be perfect. Don’t get discouraged. Cake pops are a skill that improves with practice.
Troubleshooting Common Cake Pop Problems
Problem: Cake Pops Crumble When Dipping
Solution: Cake balls weren’t cold enough. Freeze longer before dipping.
Problem: Chocolate Coating Cracks
Solution: Temperature shock. Ensure cake balls are cold but not frozen solid, and chocolate isn’t overheated.
Problem: Cake Pop Falls Off Stick
Solution: Didn’t use the “glue” technique. Always dip stick tip in chocolate before inserting.
Problem: Coating Is Too Thick
Solution: Add a teaspoon of vegetable oil or paramount crystals to thin it out.
Problem: Cake Pops Taste Too Sweet
Solution: Use less frosting in the mixture, or use dark chocolate coating instead of milk/white.
Problem: Cake Pops Are Too Soft
Solution: Too much frosting. Add more cake crumbs to balance the ratio.
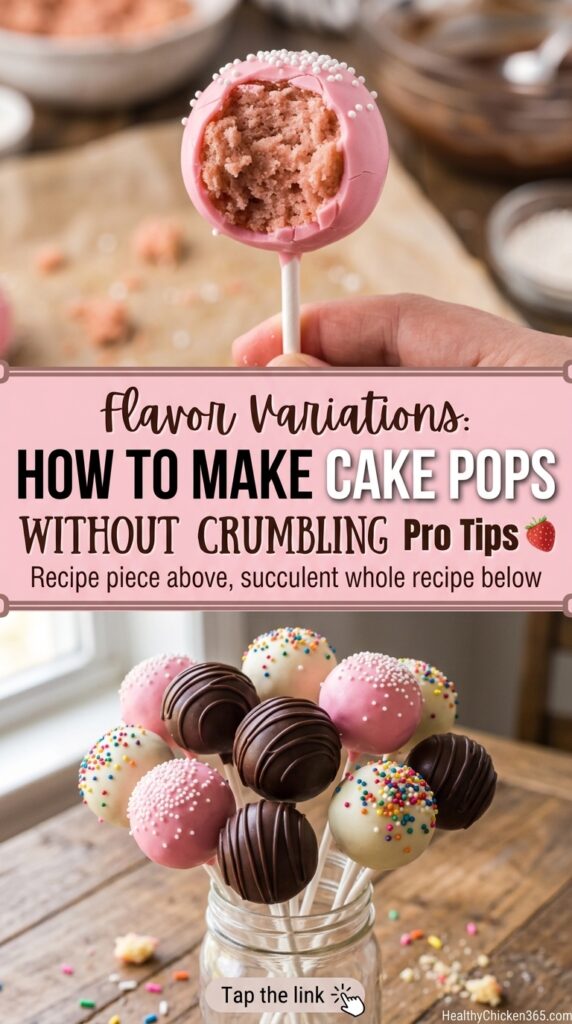
Advanced Techniques for Perfect Cake Pops
Silicone Mold Method
For perfectly uniform cake pops, use a silicone cake pop mold. Press the cake-frosting mixture into the mold halves, then freeze. This eliminates rolling inconsistencies.
Hand-Rolled vs. Mold
Hand-rolled gives a rustic, homemade charm. Molded gives perfect uniformity. Both work—choose based on your aesthetic preference.
Flavor Layering
Create multi-flavor cake pops by layering different colored/flavored mixtures in the mold or rolling different flavors together.
Decoration Ideas
- Drizzle: Use a fork to drizzle contrasting chocolate
- Sprinkle dip: Roll wet chocolate in sprinkles
- Paint: Use edible food coloring to paint designs
- Decals: Apply edible images or decals
- Textured: Roll in crushed cookies, nuts, or coconut
Seasonal Cake Pop Ideas
Holiday Cake Pops
- Christmas: Red and green sprinkles, peppermint flavor
- Valentine’s: Pink coating, heart sprinkles, strawberry flavor
- Easter: Pastel colors, bunny decorations
- Halloween: Orange and black, spider web designs
Birthday Cake Pops
Match the birthday theme with custom colors and decorations. Use birthday cake-flavored cake for extra festivity.
Wedding Cake Pops
Elegant white or gold coating with pearl dust or edible flowers. Perfect for wedding favors.
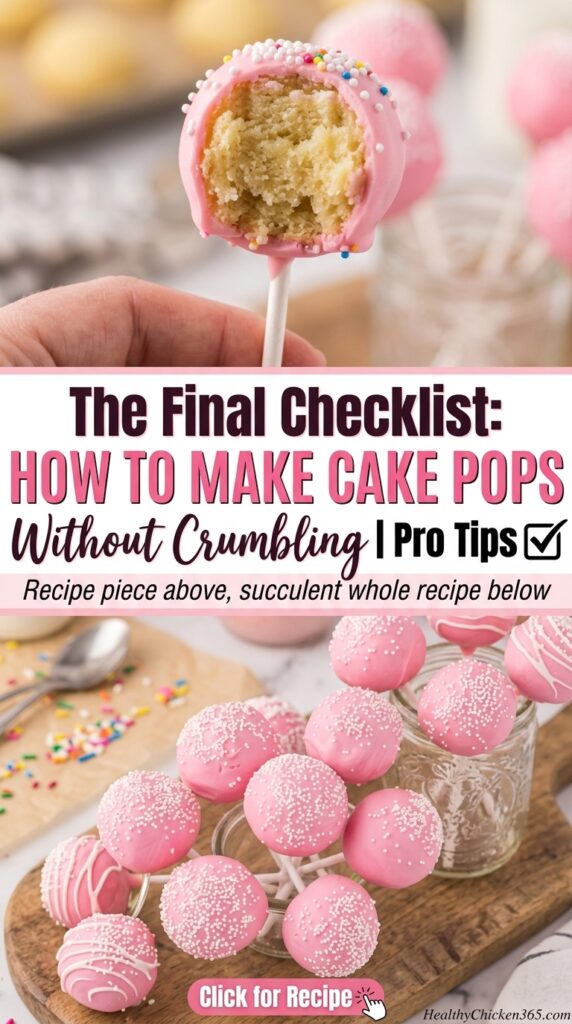
Storage and Make-Ahead Tips
Short-Term Storage (1-3 Days)
- Store in airtight container at room temperature
- Place parchment paper between layers
- Keep away from direct sunlight
Long-Term Storage (Up to 1 Week)
- Refrigerate in airtight container
- Let come to room temperature before serving
- Condensation can affect appearance
Freezing (Up to 3 Months)
- Freeze undipped cake balls on baking sheet
- Transfer to freezer bag once frozen solid
- Thaw in fridge overnight before dipping
- Don’t freeze dipped cake pops (chocolate can crack)
FAQ: Your Cake Pop Questions Answered
Q: Can I use homemade cake instead of box mix?
A: Absolutely! Homemade cake works great. Just ensure it’s completely cooled before crumbling.
Q: Why do my cake pops taste too much like frosting?
A: You’re using too much frosting. Start with less and add gradually until you reach the right consistency.
Q: Can I make cake pops ahead of time?
A: Yes! Make undipped cake balls up to 3 months ahead. Dip within 1-2 days of serving.
Q: What’s the best chocolate for cake pops?
A: Candy melts or chocolate coating wafers. They’re formulated specifically for this purpose.
Q: How do I fix cracked chocolate coating?
A: Prevent it by ensuring proper temperatures. If cracked, you can drizzle more chocolate over the top.
Q: Can I make cake pops without sticks?
A: Yes! Make cake truffles instead. Roll in cocoa powder, sprinkles, or coconut.
Conclusion: Master Cake Pops with Confidence
Making cake pops without crumbling isn’t magic—it’s science, technique, and practice. By following this comprehensive guide and implementing these 25 pro tips, you’ll transform from a frustrated baker to a cake pop pro.
Remember the key principles:
- Temperature control is everything
- Proper ratios prevent crumbling
- Patience with chilling times pays off
- Practice makes perfect
Your next batch of cake pops will be bakery-quality, crack-free, and absolutely delicious. Whether you’re making them for a party, holiday, or just because, you now have the knowledge to create perfect cake pops every single time.
Ready to start? Bookmark this guide, gather your ingredients, and begin your cake pop journey. Your friends and family won’t believe you made these at home!
Pin This for Later!
Don’t forget to save this guide to your Pinterest baking board so you can reference it whenever you make cake pops. Share it with your fellow baking enthusiasts who struggle with crumbling cake pops!
Happy baking! 🎂✨
Keywords: how to make cake pops without crumbling, cake pop recipe, cake pop tips, cake pop troubleshooting, easy cake pops, perfect cake pops, cake pop tutorial, baking tips, dessert recipes

